
7 Mistakes You’re Making With Your Golf Simulator Impact Screen (And How to Fix Them)
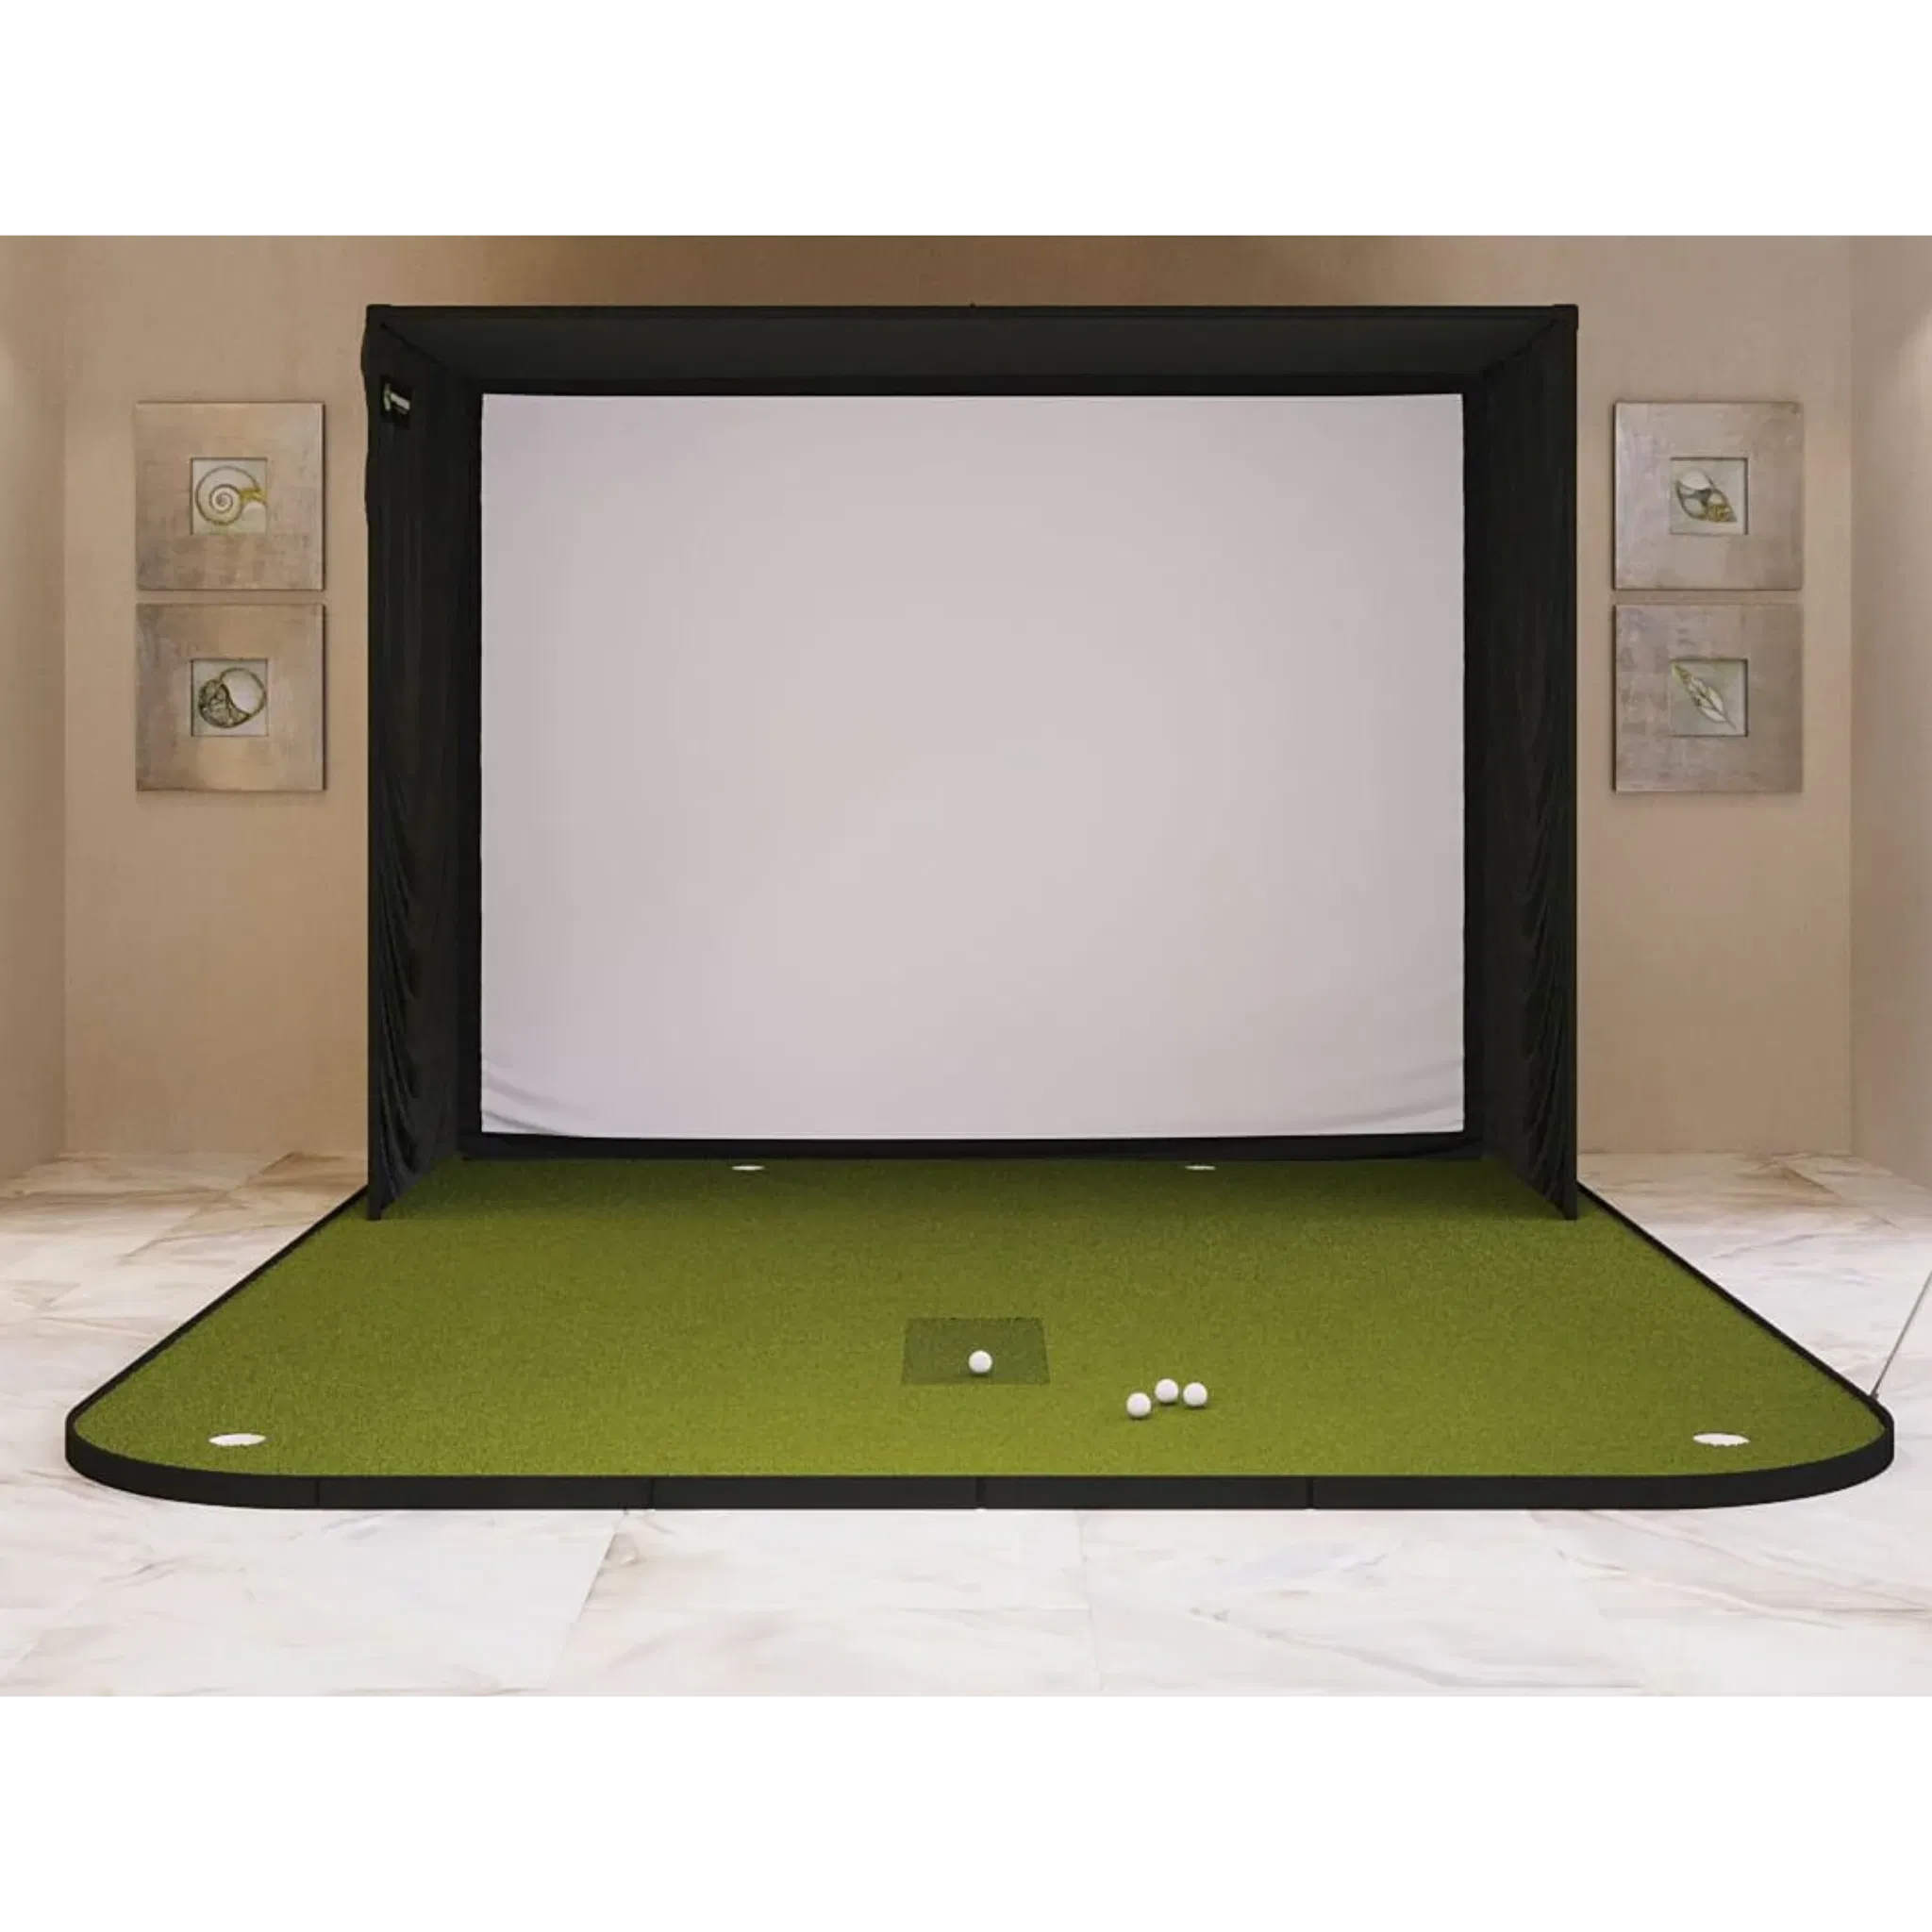
At Elevated Golf Simulators, we see it all the time: a golfer invests thousands in a high-end Uneekor launch monitor or a BenQ 4K projector, only to have the entire experience dampened by a poorly installed impact screen. Your screen is more than just a white sheet; it is a high-performance piece of engineered fabric designed to stop a 160-mph projectile while displaying a crystal-clear image of Pebble Beach.
If your ball is ricocheting back at your shins or your 4K image looks like a wrinkled mess, you are likely falling victim to one of these common setup errors. In this guide, our support team breaks down the seven most frequent mistakes and provides the professional fixes to elevate your home setup.
1. The "Trampoline Effect": Installing the Screen Too Tight
One of the most dangerous mistakes is over-tensioning the screen. Many DIYers assume that a screen should be as tight as a drum to provide the best image. However, a screen with zero give becomes a trampoline.
The Mistake: When the fabric is pulled too tight, it cannot absorb the kinetic energy of the golf ball. Instead of the screen "catching" the ball, it reflects the energy, causing dangerous high-speed bounce-back.
The Fix: Your screen needs to "breathe." A ball struck with a driver should ideally bounce back no more than 1 to 3 feet.
- Adjust the Bungees: Loosen the top corners and the middle side bungees.
- Rippling Effect: When struck, the screen should have a soft ripple. If it sounds like a gunshot and the ball zooms back past your hitting mat, loosen the tension immediately.
2. Placing the Screen Too Close to the Wall
Space is often at a premium in home garages and basements, but skimping on the gap between your screen and the back wall is a recipe for disaster: both for your equipment and your drywall.
The Mistake: Placing the screen directly against or within a few inches of a hard surface. Even a heavy-duty impact screen will "belly" or deform by several inches upon impact. If it hits the wall behind it, the ball will ricochet off the wall, through the screen, and back at you.
The Fix: Maintain a minimum of 12 to 16 inches of clearance between the impact screen and the wall. This buffer allows the fabric to travel backward, safely decelerate the ball, and drop it to the floor. If you are extremely tight on space, consider adding a layer of high-density foam or a heavy-duty golf net behind the screen to help kill the momentum.
3. Ignoring Bottom Support and Weighting
A screen that is only secured at the top and sides will inevitably sag or "flutter" at the bottom. This not only looks unprofessional but also creates a trip hazard and distorts the lower portion of your projection.
The Mistake: Leaving the bottom of the screen loose or using lightweight plastic pipes that offer no resistance.
The Fix: Use a weighted bottom bar or a sand-filled PVC pipe. Most premium screens sold at Elevated Golf Simulators feature a bottom sleeve.
- The Pro Tip: Insert a 1-inch EMT conduit or a weighted steel pipe into the bottom sleeve. This pulls the vertical wrinkles out and keeps the screen flush with your hitting turf. This ensures a seamless transition from your hitting mat to the virtual fairway.

4. Uneven Side Tension and Image Distortion
Have you ever noticed that the flagstick on your simulator looks slightly tilted, or the horizon line seems to curve? This is rarely a projector issue; it’s almost always a tensioning problem.
The Mistake: Pulling bungees tighter on one side than the other, or having inconsistent spacing between the mounting points on your enclosure.
The Fix:
- Centering: Ensure the screen is perfectly centered within your frame before attaching any bungees.
- Sequential Tightening: Work like you are tightening lug nuts on a car tire. Start at the corners, then move to the centers, and fill in the gaps.
- Consistency: Use the same brand and length of ball bungees across the entire setup to ensure the pull strength is uniform.
5. Allowing Wrinkles to Become Permanent
Even the highest quality polyester or mesh screens can arrive with fold lines from shipping, or develop "belly" wrinkles over time from repeated impacts.
The Mistake: Projecting onto a wrinkled surface. Wrinkles create shadows that ruin the immersion of 4K golf simulation and can even cause minor tracking errors with camera-based launch monitors if the shadows interfere with the ball's silhouette.
The Fix:
- Steam, Don't Iron: Use a handheld garment steamer to gently remove fold lines once the screen is under slight tension. Never use a traditional iron, as the high heat can melt the synthetic fibers.
- Regular Maintenance: Periodically check your bungees. Elastic degrades over time. Replacing worn-out bungees will restore the screen's flat profile and improve image quality instantly.
6. Neglecting the "Backing" for Sound and Safety
The "thwack" of a golf ball hitting a screen can be surprisingly loud: loud enough to disturb family members in the next room or neighbors in a townhouse.
The Mistake: Relying solely on a single layer of impact fabric. This leads to higher noise levels and a shorter lifespan for the screen.
The Fix: Add a secondary layer.
- Archery Netting: Hanging a layer of archery netting or a heavy-duty mesh behind your primary impact screen significantly dampens the sound.
- Lifespan: The backing layer absorbs a portion of the impact energy, reducing the stress on the front screen's fibers, which means you won't have to replace your primary screen as often.
7. Poor Lighting and Glare Management
You can have the most expensive BenQ 4K Golf Simulator Projector, but if your room lighting is wrong, your impact screen will look washed out.
The Mistake: Placing bright overhead lights directly between the projector and the screen, or failing to account for windows that cause glare.
The Fix:
- Directional Lighting: Use recessed "puck" lights or track lighting that focuses strictly on the hitting mat area, keeping the screen in a "shadow box."
- Blackout Curtains: Ensure any windows are covered with light-blocking materials.
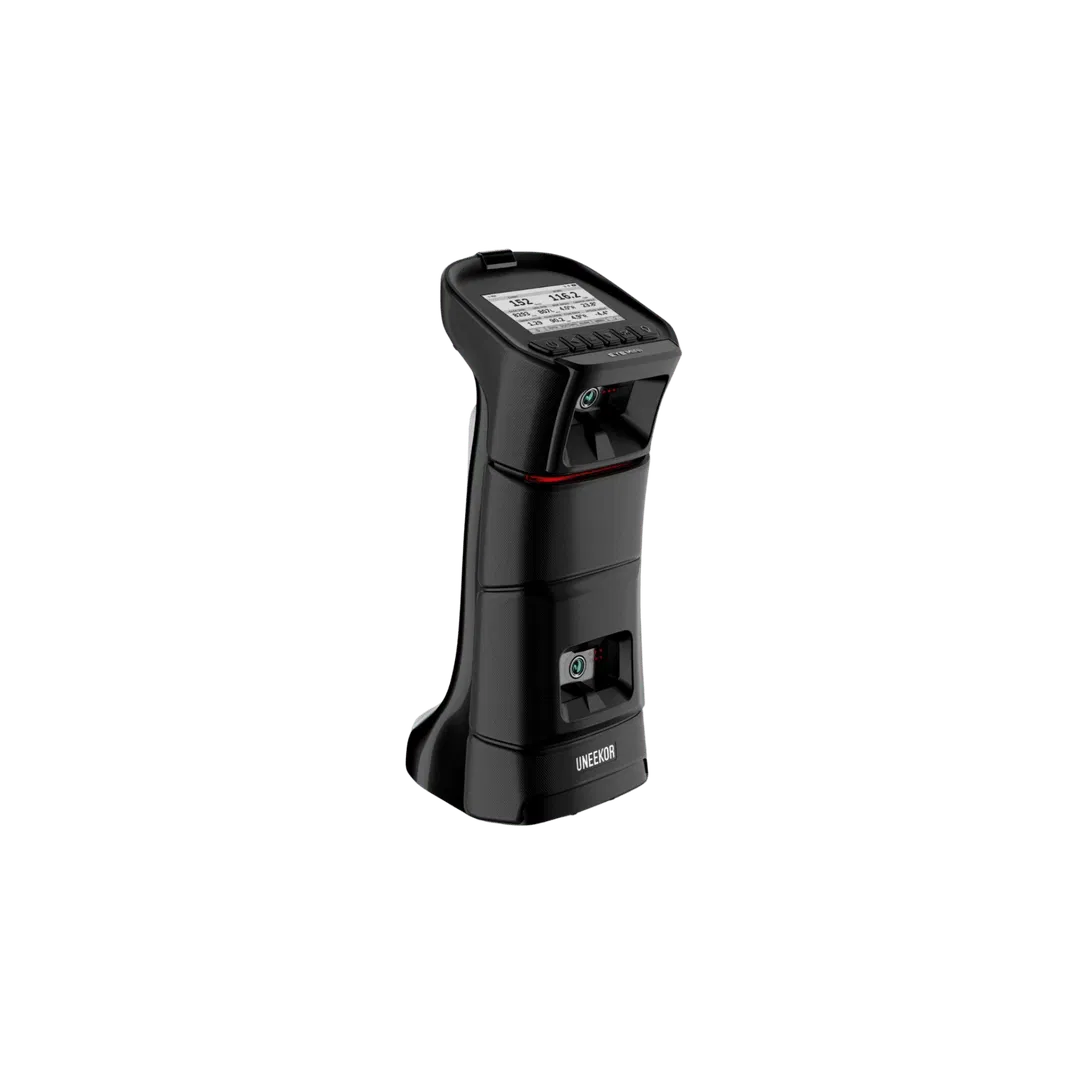
- Launch Monitor Alignment: If you are using a Uneekor Eye Mini or Foresight GCQuad, ensure that your room lighting doesn't cast a shadow of the golfer onto the ball at the moment of impact, as this can cause missed shots.
Technical Comparison: Impact Screen Materials
Choosing the right material is the first step in avoiding these mistakes. Here is how the most common options compare:
| Feature | Single-Layer Polyester | Triple-Layer Mesh | Premium "Preferred" Fabric |
|---|---|---|---|
| Best For | Budget / Entry Level | Noise Reduction | 4K Image Quality |
| Durability | Moderate | High | Very High |
| Noise Level | Loud | Quiet | Moderate-Quiet |
| Bounce-back | Moderate | Low | Low |
| Price Point | $ | $$ | $$$ |
How the Screen Affects Your Launch Monitor
Your choice of screen and how you maintain it actually impacts the data you receive from your technology.
- Uneekor Systems: High-speed cameras like those in the Uneekor EYE XO need a clear view of the ball. If your screen is too loose and creates large folds, a ball resting near the screen after a shot might be misidentified or cause "ghost" readings in the software.
- SkyTrak: For systems like SkyTrak+, which sit to the side, ensuring the screen is flat helps with the "optical flow" of the ball moving from the real world into the virtual world, making the transition feel more realistic.
- Projector Health: A screen that is properly tensioned allows your BenQ Projector to stay in focus across the entire surface. If the screen sags in the middle, the center of your image will be out of focus compared to the edges.

Final Verdict: The Professional Setup Checklist
To ensure your Elevated Golf Simulators experience is top-tier, follow this final checklist:
- Clearance: Is there at least 12 inches between the screen and the wall?
- Tension: Does the ball bounce back less than 3 feet?
- Leveling: Is the bottom weighted with a pipe or conduit?
- Environment: Is the room dark enough to let the 4K resolution shine?
- Cleanliness: Are you using clean, unmarked golf balls? (Dirty balls are the #1 cause of permanent screen staining).
Setting up an indoor simulator is an investment in your game. Don't let a simple installation mistake ruin your progress. If you are looking to upgrade your current setup or are starting a new DIY project, explore our full range of impact screens and enclosures to find the perfect fit for your space.
Ready to elevate your home practice? Browse our latest launch monitor comparisons or contact the Elevated Golf Simulators Support Line for personalized advice on your indoor setup.


Leave a comment
This site is protected by hCaptcha and the hCaptcha Privacy Policy and Terms of Service apply.