
7 Mistakes You’re Making with Your Golf Simulator Impact Screen (and How to Fix Them)
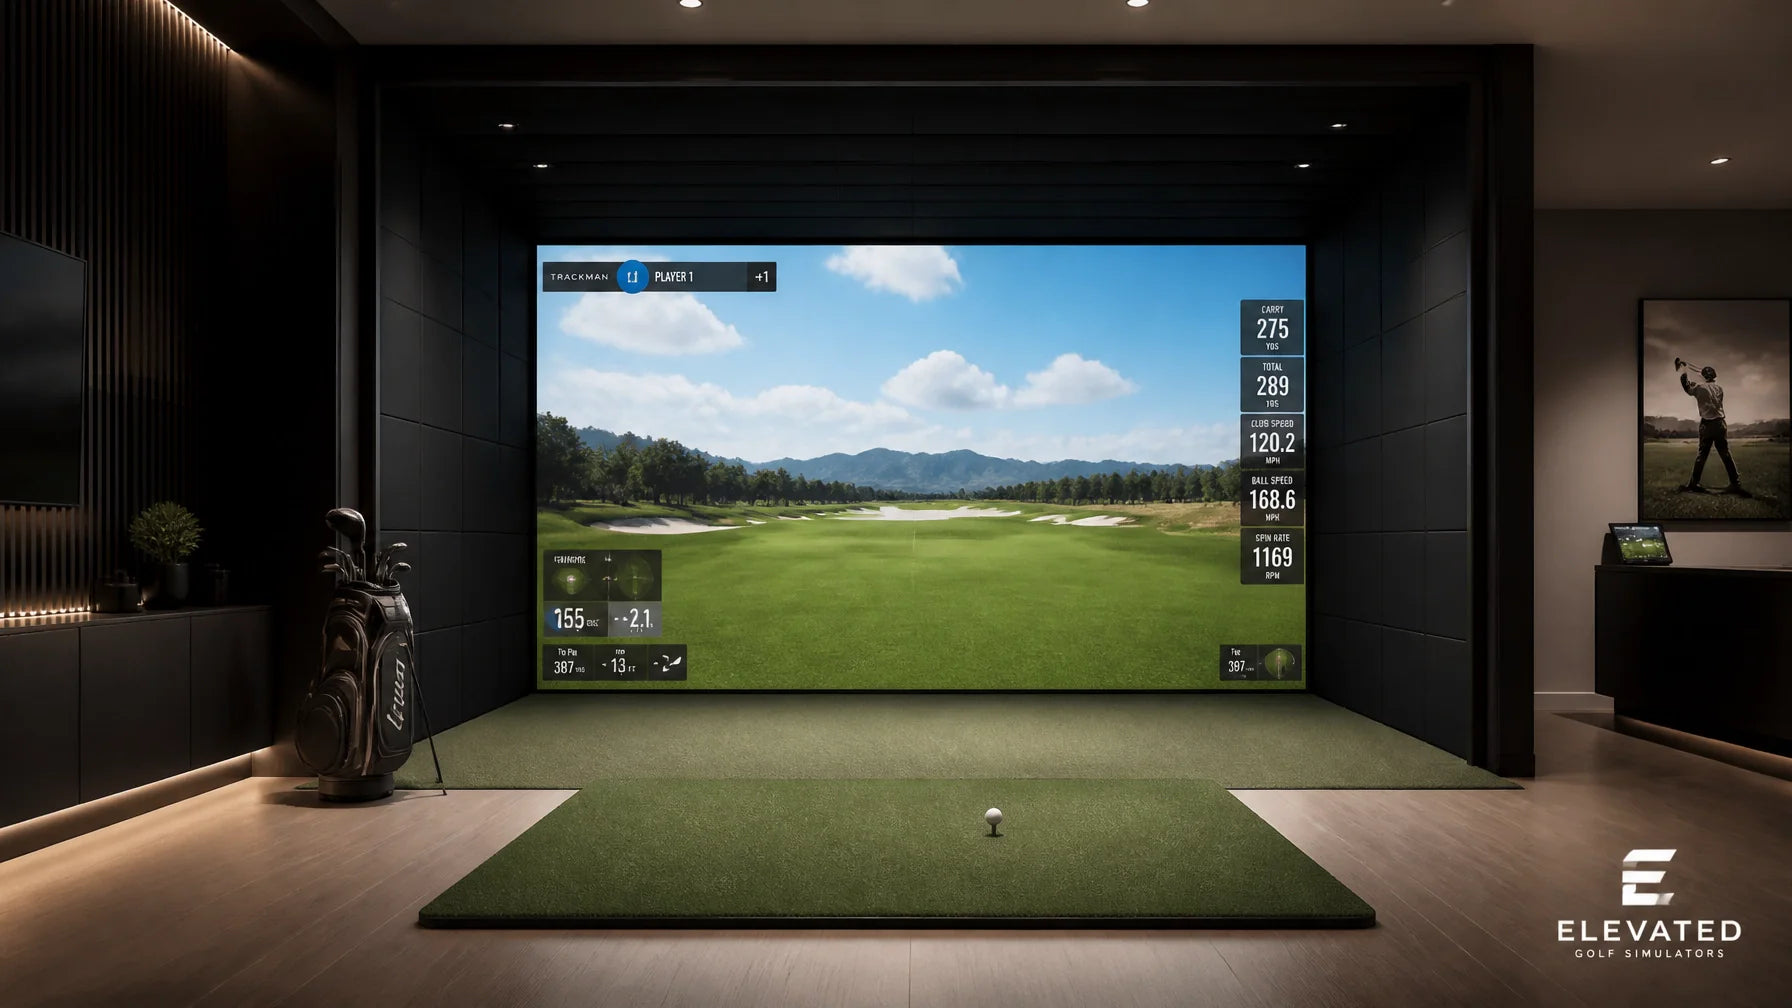
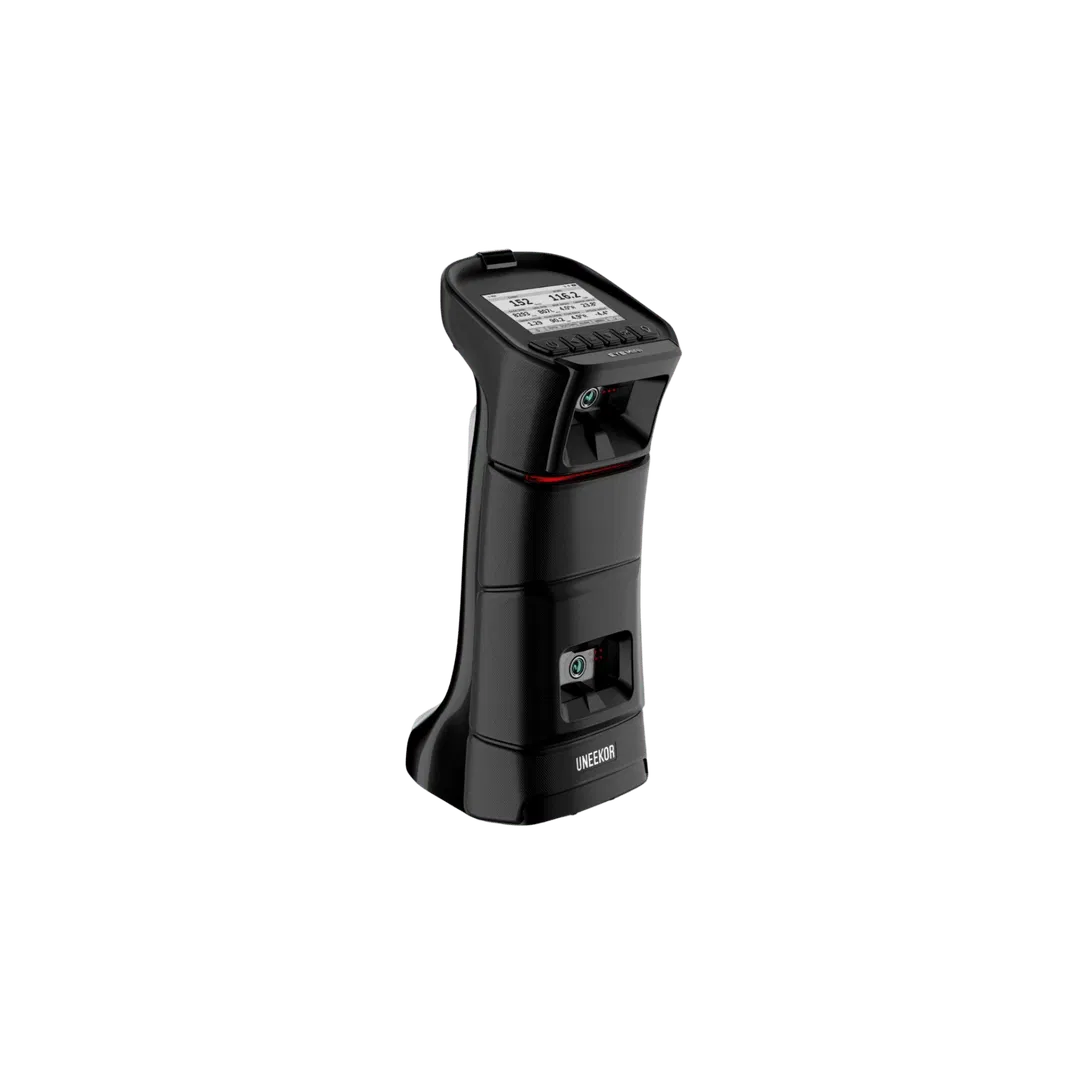
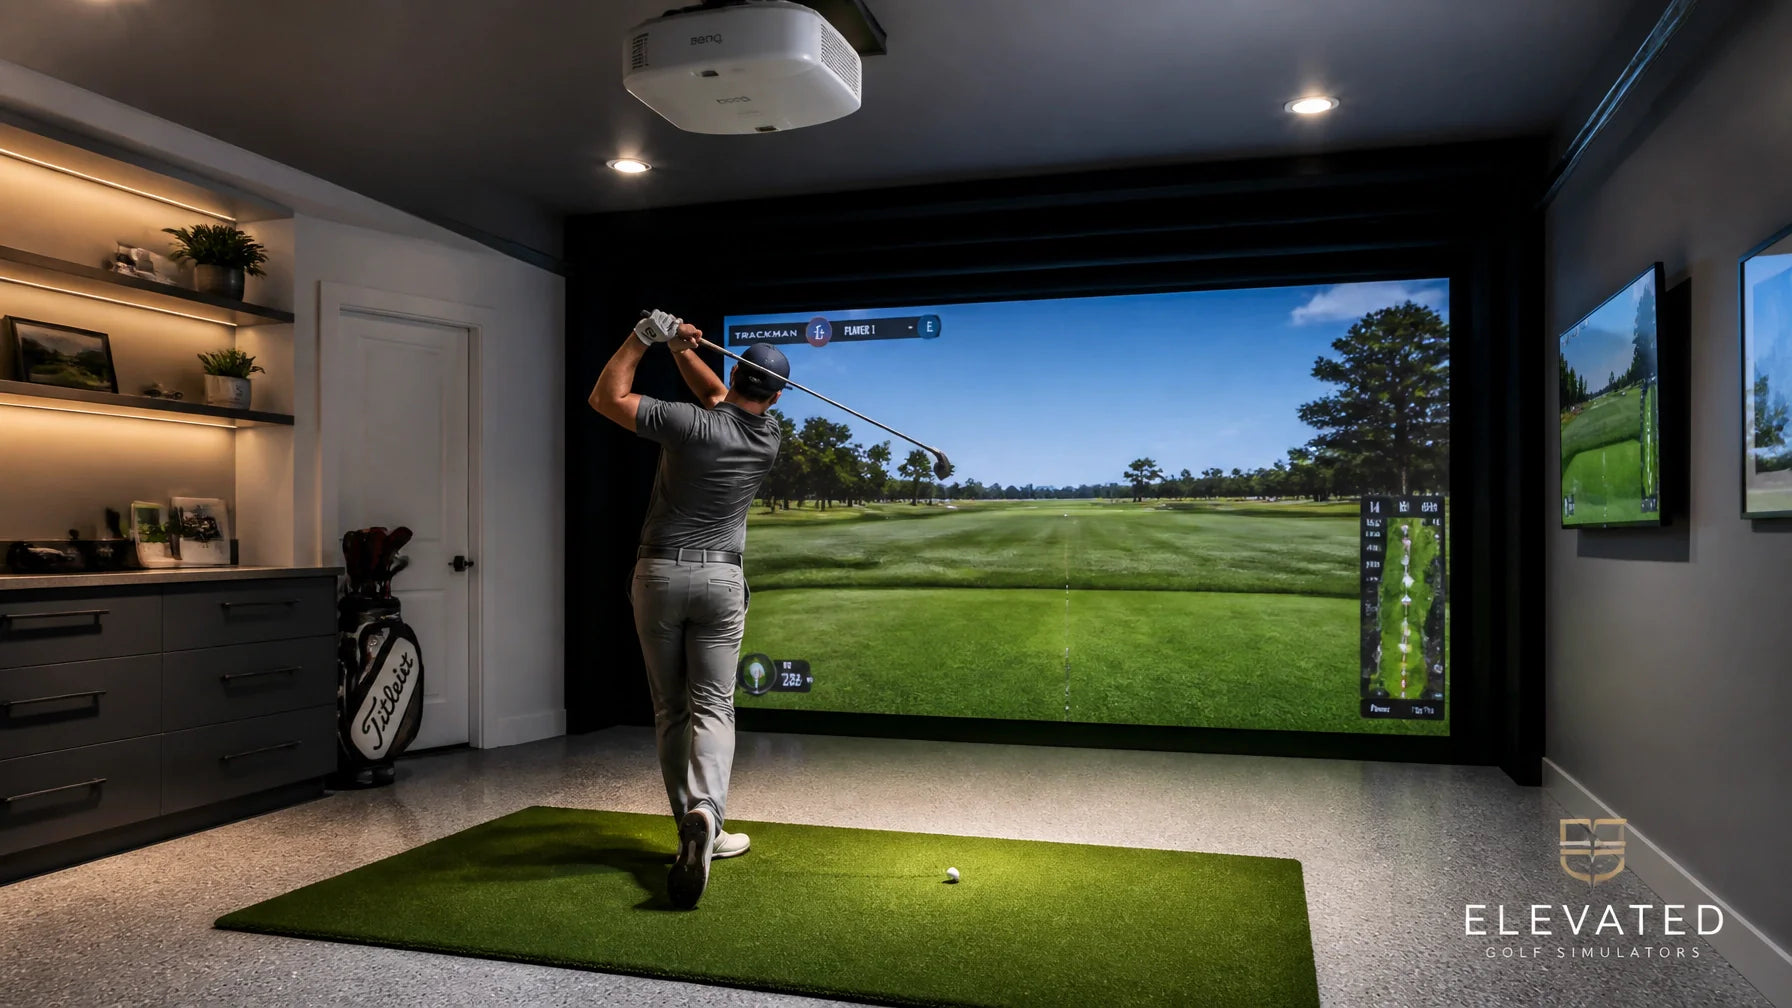
At Elevated Golf Simulators, we believe your impact screen is the most critical piece of real estate in your indoor setup. It is the canvas for your ultra-bright BenQ Projectors and the final destination for every ball you compress with your Uneekor EYE Mini.
However, many golfers treat the impact screen as a "set it and forget it" accessory. This oversight leads to dangerous bounce backs, washed-out images, and a screen that wears out in months rather than years. Whether you are building a custom DIY bay or installing a turnkey SIG10 Golf Simulator Package, avoiding these seven common mistakes will significantly elevate your experience and protect your investment.
1. Setting the Tension "Drum Tight"
The most common mistake is pulling the screen too tight. While a perfectly flat, wrinkle-free surface looks great for movies, it is a recipe for disaster in golf.
- The Problem: A "drum tight" screen has no "give" to absorb the kinetic energy of a ball traveling at 120+ mph. This creates dangerous bounce back, where the ball can ricochet back at the golfer or damage nearby equipment.
- The Fix: Aim for "smooth but slightly loose." When you push the screen by hand, it should have a few inches of play. If you use ball bungees, leave every second or third grommet empty if the tension feels too high. You want enough tension to keep the image flat, but enough slack to "catch" the ball.
2. Neglecting the Air Gap Behind the Screen
Installing an impact screen directly against a drywall or concrete wall is a fast track to a ruined screen (and a ruined wall).
- The Problem: Without enough space, the fabric will strike the hard surface behind it during impact. This increases noise and causes the fabric to fray and fail prematurely.
- The Fix: We recommend a minimum of 12 inches of space between your screen and the back wall. For high-speed hitters, 15-18 inches is even better. If you are tight on space, consider adding a heavy-duty Golf Nets or specialized foam padding behind the screen to absorb the extra energy.

3. Using Scuffed or Dirty Golf Balls
You wouldn't use a piece of sandpaper to clean your screen, yet many golfers unknowingly do exactly that.
- The Problem: Any dirt, grass, or scuff marks on a golf ball act as an abrasive under high-speed impact. A single scuffed ball can "burn" a permanent mark or tear into the fabric of a premium Carl's Place Impact Screen.
- The Fix: Dedicate a set of brand-new, high-quality golf balls exclusively for your simulator. Check them regularly for "cracks" or "cuts" in the cover. If a ball gets a mark, retire it to your outdoor bag immediately. Pro tip: Avoid using golf balls with Sharpie markings, as these can transfer ink to your screen.
4. Failing to Account for Ambient Light
Even the best 4K Golf Simulator Projectors will look mediocre on a screen if the room lighting isn't optimized.
- The Problem: Light from windows or overhead fixtures washes out the contrast, making the fairway look grey rather than green.
- The Fix: Control your lighting environment. Use black-out curtains and position your lights behind or directly above the hitting position, rather than between the golfer and the screen. If you can't perfectly control the light, consider a High-Contrast Grey Impact Screen, which is specifically designed to maintain deep blacks and vivid colors in brighter rooms.

5. Ignoring the "Bottom Gap"
Many users focus on the top and sides but forget the bottom of the screen, leaving a gap between the screen and the floor.
- The Problem: This gap is a "worm-burner" trap. Low-profile shots can slide under the screen and hit the frame or the wall at full speed, creating a safety hazard and a loud bang.
- The Fix: Ensure your screen is long enough to drape onto the floor. Most premium enclosures, like the SIG series, are designed so the screen sits flush. Use a heavy foam "bumper" or a weighted bottom hem to keep the screen pinned to the turf. This also creates a seamless transition from the hitting mat to the virtual world.
6. Overlooking Floor Protection and Ricochets
What happens after the ball hits the screen is just as important as the impact itself.
- The Problem: If you have bare concrete or hardwood between your mat and the screen, the ball will hit the floor and bounce unpredictably.
- The Fix: Cover the entire floor area from the mat to the screen with Golf Simulator Hitting Mats or high-density foam tiles. This deadens the ball's energy, allowing it to drop quietly and roll back toward your feet.
7. Choosing the Wrong Material for Your Usage
Not all screens are created equal. A "Standard" screen might be fine for a casual garage setup, but serious daily practice requires something more robust.
- The Problem: Users often buy the cheapest option only to find it is too loud, has too much texture (grainy image), or wears out in six months.
-
The Fix: Match your screen to your volume.
- Standard Screens: Best for budget builds and light, occasional use.
- Preferred Screens: The sweet spot for most home users; offers a smoother image and better durability.
- Premium Screens: Best for commercial bays or dedicated home theaters where image quality and noise reduction are the top priorities.
Comparison: Choosing the Right Impact Screen Tier
| Feature | Standard Screen | Preferred Screen | Premium Screen |
|---|---|---|---|
| Best For | Entry-level / Budget | Serious Home Practice | Commercial / High-End |
| Image Quality | Good | Very High | Exceptional (4K Ready) |
| Noise Level | Moderate | Quiet | Ultra-Quiet |
| Durability | Standard | High | Maximum |
| Price Point | $ | $$ | $$$ |
Final Verdict: Optimize Your Setup Today
Building the perfect simulator room is about the synergy between your tech and your hardware. A Uneekor EYE XO2 provides world-class data, but you won't fully enjoy it if your screen is sagging or your image is washed out.
Choose a Preferred or Premium screen if: You plan on hitting more than 100 balls a week and want a theater-quality image. Stick with a Standard screen if: You are on a strict budget and safety (proper tension and backing) is your primary concern over noise and image "pop."
If you are ready to upgrade your current setup or start a fresh build, explore our full range of Golf Enclosures and Turnkey Enclosures. Our team at Elevated Golf Simulators is always available via phone or text to help you dial in your room dimensions and hardware choices.

Leave a comment
This site is protected by hCaptcha and the hCaptcha Privacy Policy and Terms of Service apply.